
Configuring Project Metadata
Project Metadata allows users of Software Risk Manager to enter values into
Project Metadata Fields for any project they have the manage role for.
Click the Projects icon from the navigation bar to open the Projects page, then click the project's dropdown configuration icon and select Project Metadata.
It is up to an admin user to define the fields; once defined, they will be available to every project in your Software Risk Manager installation.
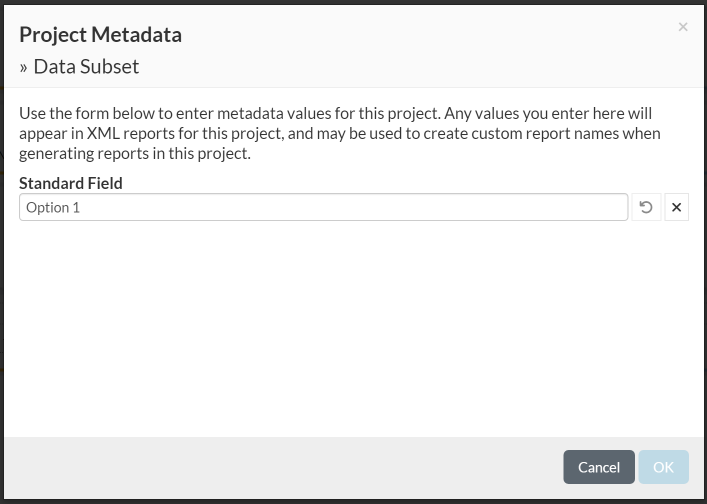
Adding Metadata to a Project
To add metadata to a project:
- Click the Projects icon from the navigation bar to open the Projects page.
- Click the project's dropdown configuration icon and select Project
Metadata.
- Click Reset (a circular arrow icon) to undo any changes and return to the last saved state.
- Click Clear (an "X" icon) to clear all the fields.
- Configure the fields as necessary. There are four of field types:
- Text. A regular text input which allows a single line of text (e.g., Project Owner in the screenshot above).
- Multiline. A larger text input which allows for multiple lines of text (e.g., Description in the screenshot above).
- Dropdown. A dropdown select which allows users to pick one of the options (e.g., Criticality in the screenshot above).
- Tags. A special input that behaves similarly to Text, but each individual word is converted to a "tag." As you type, pressing the space bar will convert whatever text you already had into a tag. Remember to enter a space after the last tag.
- Click OK.