Configuration
You must add the Software Risk Manager task to your pipeline before you can configure it.
Navigate to your Azure DevOps site and begin editing a pipeline for one of your projects. (These projects should be within the organization that the Software Risk Manager extension was installed for.)
Requirements
If you use HTTPS, then Software Risk Manager's certificate must be signed by a public CA. The Software Risk Manager plugin does not currently have an option to specify a custom certificate.
The host for the pipeline job should have Powershell Core installed.
Create Archive Files
Software Risk Manager does not accept raw binary or source code. These files must be placed in a ZIP before being uploaded to Software Risk Manager. You can package your resources into a ZIP using DevOps' built-in Archive task.
Save the value of the Archive file to create field for later use when configuring the Software Risk Manager task.
Add and Configure the Software Risk Manager Upload Task
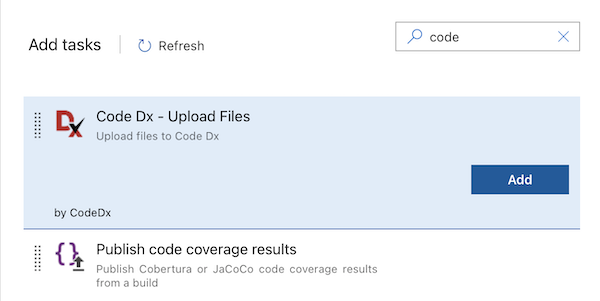
In the Tasks tab of your DevOps pipeline, click the "+" button on the job you'd like to use for running the Software Risk Manager extension. In the Add tasks menu, search for "Code Dx" to find the Software Risk Manager task. Click Add to add the Software Risk Manager plugin to your Azure job.
Note: If the Software Risk Manager option is not present, check that you successfully performed the installation steps.
Click the newly-added "Software Risk Manager" task. This will display the form to configure the task.
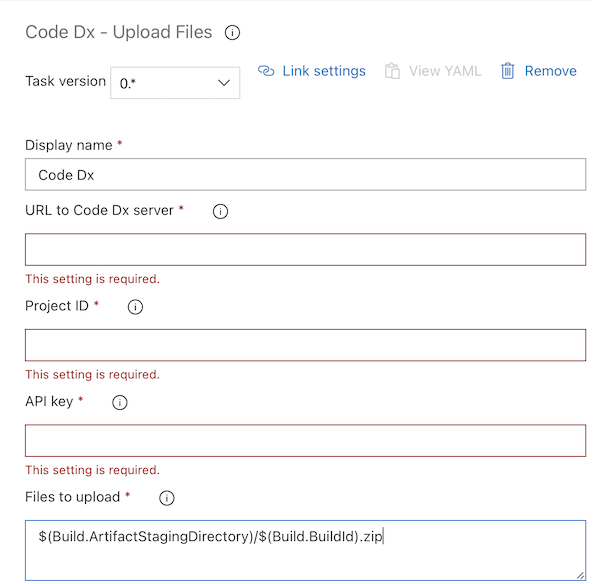
URL to Software Risk Manager server - The URL to your Software Risk Manager server, including port and base path. Production deployments typically have a base path of /codedx/, eg https://test.com/codedx/.
Project ID - The ID of the Software Risk Manager project to use when storing analysis results. The ID is part of the URL found when viewing findings for a projects, eg /codedx/projects/5.
API key - The API key or a Personal Access token. Your key/token must have the appropriate permissions to schedule the analysis.
Files to upload - Enter the path(s) to your input files. This may include ZIPs and tool scan result files. If you used the Archive task in your pipeline, include the value you used for its Archive file to create field. You can specify multiple paths by placing each on its own line. Microsoft's "Build variables" list may be useful to reference.
Save the pipeline after making your changes.
This concludes the configuration of the Software Risk Manager extension. When the pipeline runs, the listed files will be uploaded to the given Software Risk Manager server within the specified project. The task will complete once the files are submitted and analysis begins.